After four years of living in this house – I realized my kids bathroom was a room full of “left-overs”. They ended up with all the old towels, the outdated shower curtain, un ugly old clock (from who knows where?) and whatever rugs I could dig up out of the linen closet. So, I decided to do something about it.
I’m not sure the effort was totally appreciated however. As I tucked my nine-year old into bed the other night she asked me, “Mom, what’s going on in the bathroom – why are you painting it? It’s JUST a bathroom!” Well, my reply was something along the lines of, “I know, I know. It’s just something I felt needed to happen and I have left-over paint – so why not???”
OH – and here’s the really good reason for doing this: I’ve talked my hubby into painting the kitchen cabinets and I’m going to practice on the bathroom cabinet FIRST! Yes! (practice makes perfect and if I fail in the bathroom….no one has to know!)
So armed with some Pinterest inspiration I was ready to get started. I looked for images with “blue bathrooms” on Pinterest and found this blog, http://beinghomedecor.com/bathroom-before-after/.html I loved her bathroom makeover for several reasons, first of all – it’s blue and secondly, the layout is so similar to ours – I knew it would work. We had already removed the oh-so-unoriginal Hollywood Glam lights with the huge bulbs put in by the builder and installed a bargain I found at a Habitat Restore. I painted my $10 bargain black and removed the original glass and added “seed” glass and vintage bulbs. Now, on to taping/prepping before painting!
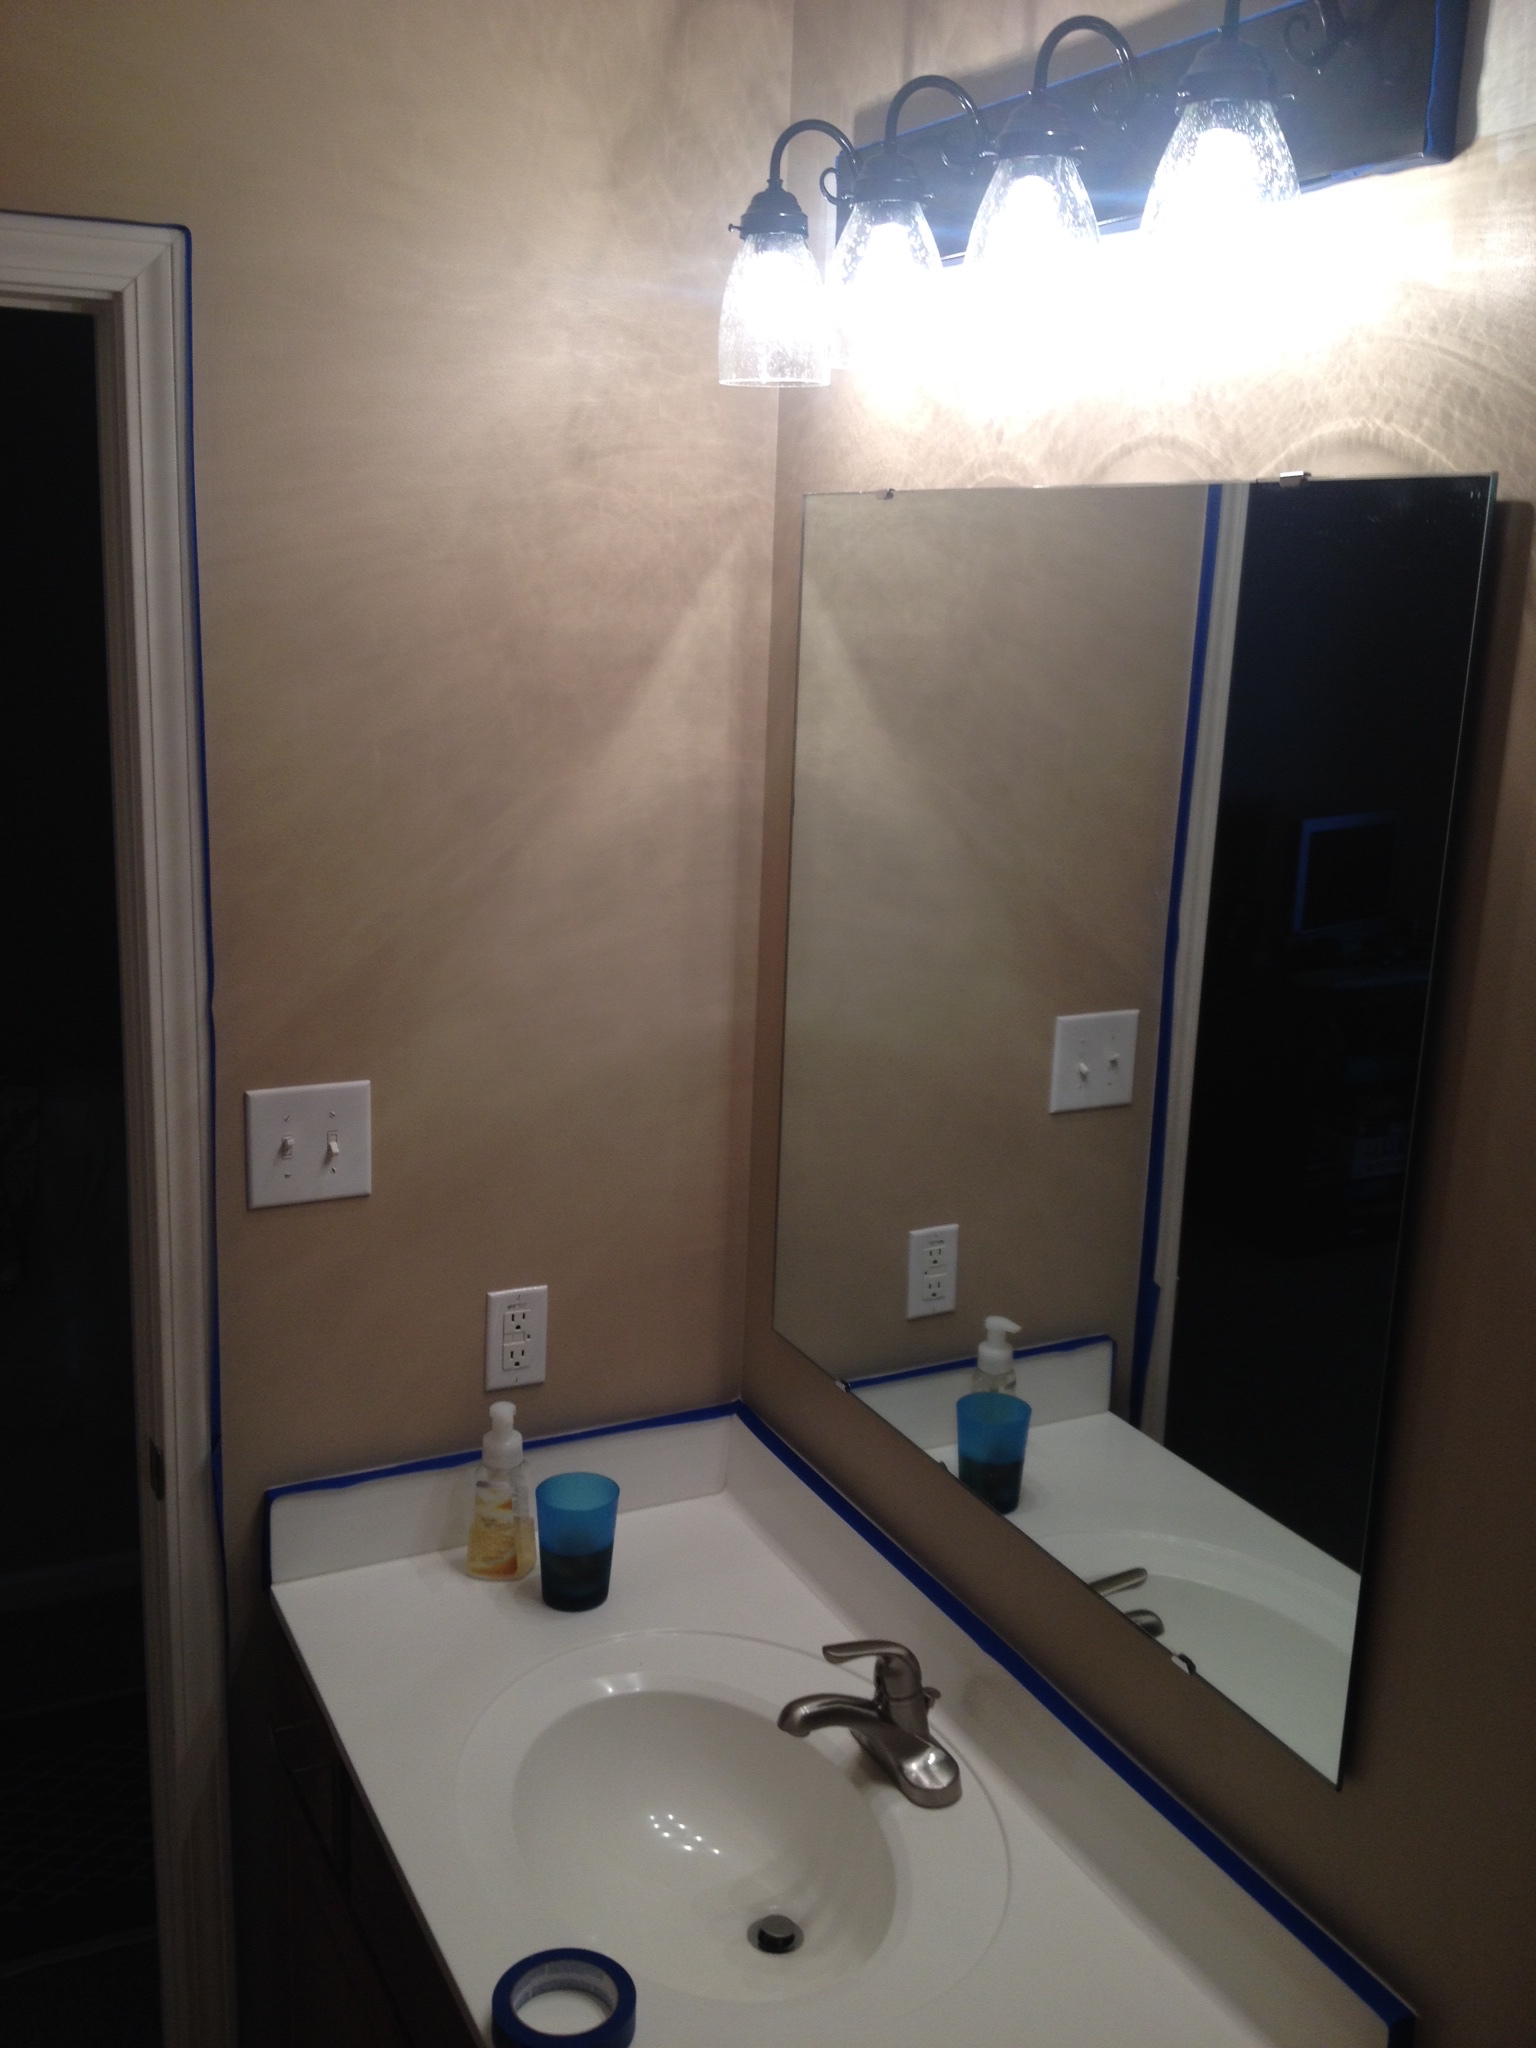
After taping everything, I used Dutch Boy in Summer Lake -a lovely blue/gray color that would go wonderful with the black/white vanity.
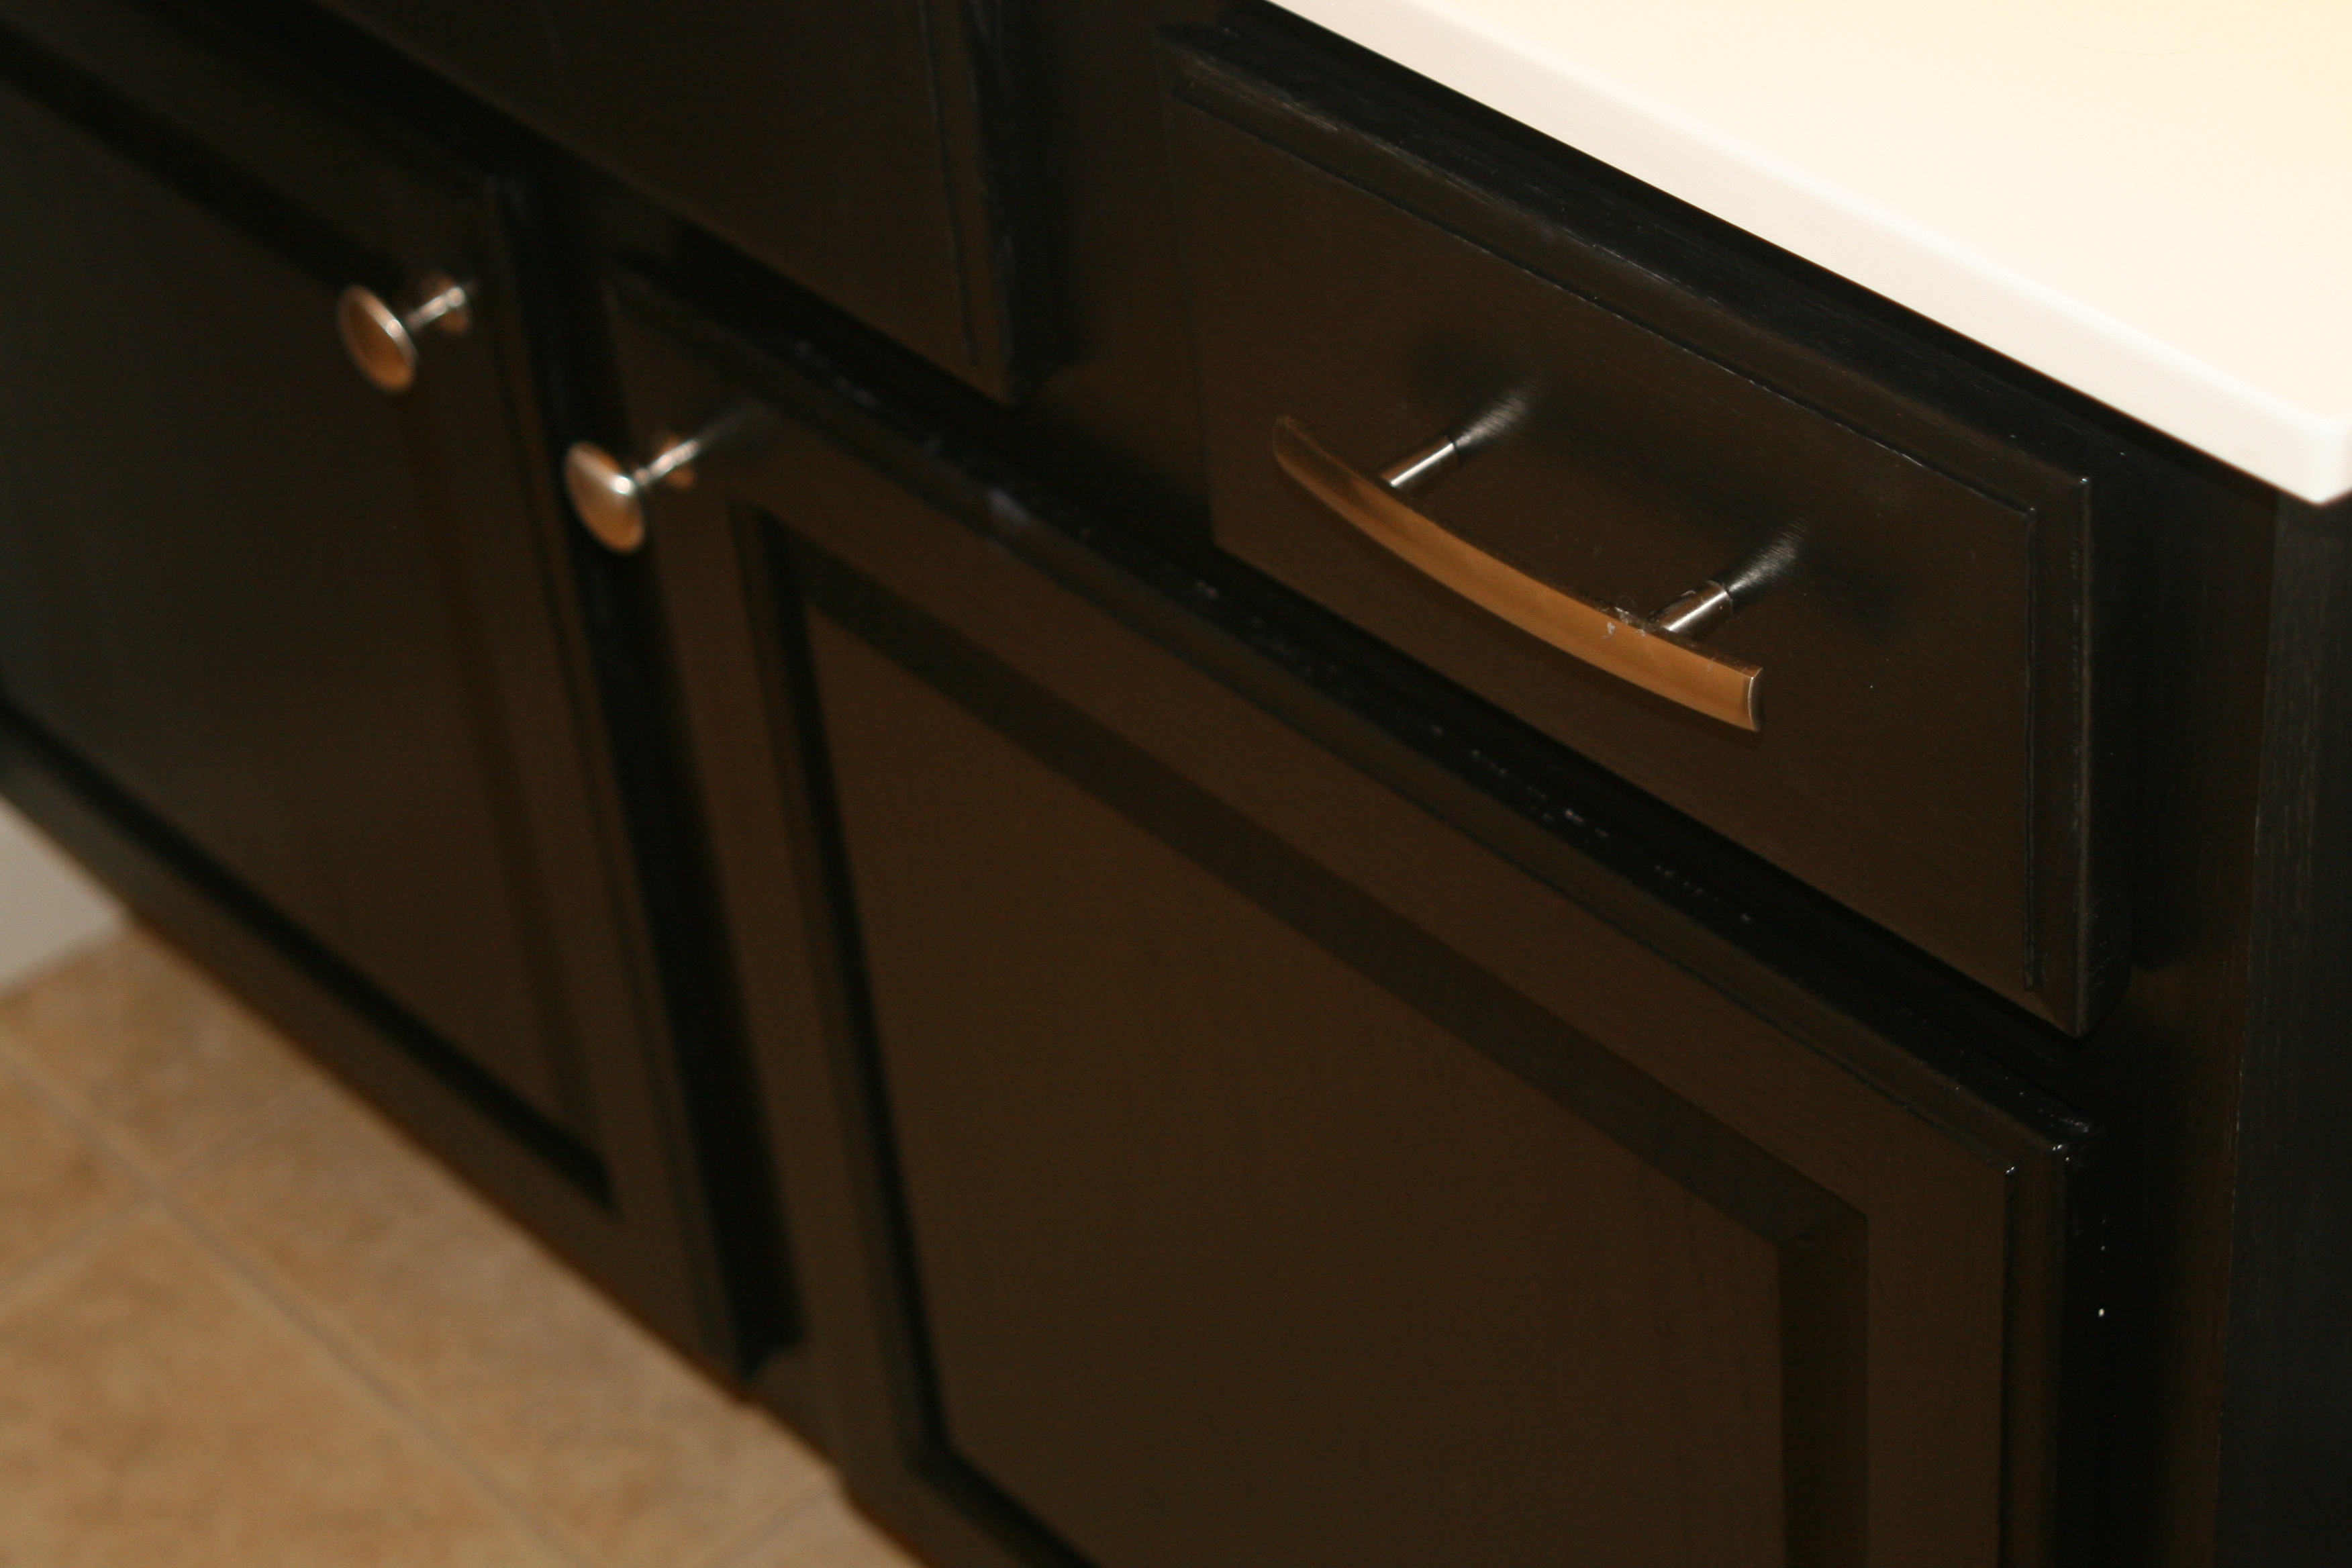
So, after my experience with trying chalk paint on our master bath cabinets and NOT liking it at ALL! I decided to go for the tried and true method of painting oak cabinets. It’s more work, it takes longer, but for real – it has to be done right or shouldn’t be done at all!
I followed some much wiser folks who have great step-by-step instructions on how to do this right. I also talked to others who have done this before and followed their advice on which paint to choose. Here are some helpful links to instructions:
http://www.thisoldhouse.com/toh/how-to/intro/0,,20315665,00.html
Yep, lots of steps, lots of work – but you won’t regret doing it right. After advice from other homeowners & the experts at Sherwin Williams – we chose Sherwin Williams All Surface Enamel Latex for the bathroom vanity in Tricorn Black SW6258. It’s a deep, rich and beautiful black! I sanded, primed and removed the drawer fronts and cabinet doors before painting those out in my garage. Here’s a link to the cabinet paint suggest by Sherwin Williams for the vanity:
http://www.sherwin-williams.com/homeowners/products/catalog/all-surface-enamel-latex-base/
I realize I need to work on my photography skills (LOL) But, here’s a couple of shots. It looks really pretty in real life. The lights are so incredibly bright – I think when they burn out we’ll go with a lower wattage – it’s hard to get a good shot with the glare – haha! I could not be happier with the cabinet and I’m confident we can tackle the kitchen next (sigh). Just another note: I used two coats on the cabinet and let it dry for a day in between. Then I let them dry for 3 days before putting them back in the bathroom – just to make sure they weren’t “tacky” and dry enough for my girls to use them!


Oh – I also made this board with 3 hooks for my 3 kids to hang their wet towels upon (works mostly!). I bought a plain wood board for $7 at Hobby Lobby and painted it with Annie Sloan Chalk Paint in Old White. I also used a silver metalic paint over the Old White to give it a little sheen and added the hooks and anchored it to the wall.

Can’t wait to see the after picture! 🙂
LikeLike
Thanks! I’m working on it and thank you so much for stopping by. I enjoyed visiting your blog as well!
LikeLike